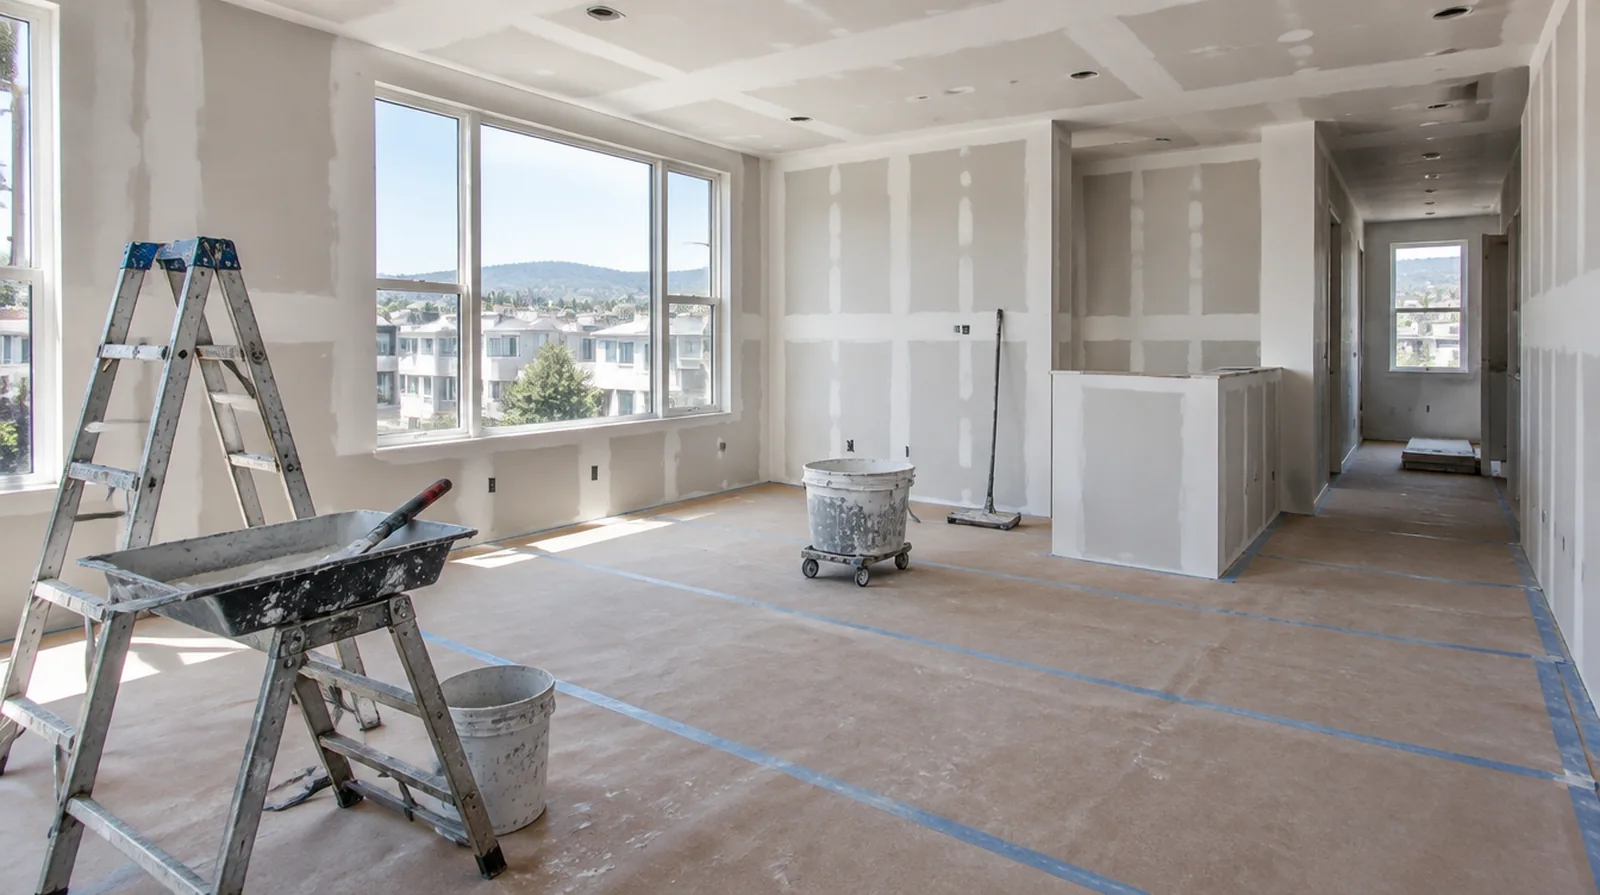
Allow genuine drying time
Do not judge a coat ready solely because its outer face appears firm. The drying interval changes with indoor humidity, temperature and the available movement of air. At a ceiling or wall containing fittings, assign removal and reinstatement duties for the affected devices before repair access is needed.
Consider a skim layer
Broad grazing light could reveal a difference in texture between the paper face and finished joints. A suitable skim treatment could help create a more uniform surface when the specification calls for it. When a paint contractor follows the drywall work, define the surface condition being handed over and decide who handles any minor final touch ups.
Coordinate with the painter
Primer could reveal small imperfections that were challenging to see on the raw white surface. Establish responsibility for those final adjustments and any review after priming before the work starts. When a wall has repeated defects, keep a record of earlier repair attempts so a new assessment does not simply repeat an unsuccessful approach.
Build the seam gradually
Successive coats widen the finished area and soften the transition from joint to board face. Square cut sheet ends need particular care because they do not offer the recess of tapered factory edges. Where flooring is staying in place, agree on protective coverings and check that tools and material handling will not damage the visible finish.
Embed the tape
Tape needs a properly bonded bedding coat underneath its full length. Inside corners need a crisp fold and balanced coverage on both faces. Where a future fixture will be installed, coordinate any required backing while the cavity is accessible instead of reopening the completed wall.
Assess the hung board
Misaligned panels or unsupported joints need attention before the finishing layers can perform properly. Fastener depth and board alignment should be checked before joint treatment begins. Where a future fixture will be installed, coordinate any required backing while the cavity is accessible rather than reopening the completed wall.
Inspect the whole wall
Review corners, returns and service openings as well as the straight seams in the main wall. Use the intended room lighting where practical and include an oblique view across the plane. For a room with restricted airflow, plan drying conditions alongside dust protection and the comfort of people occupying neighboring spaces.
Choose joint materials
Joint bedding and the last surface coats do not necessarily call for identical products. Selection should reflect joint type, conditions within the room and the manufacturer guidance rather than convenience alone. If the decorative coating is already chosen, share its sheen and color early because those choices influence how substrate preparation is judged.
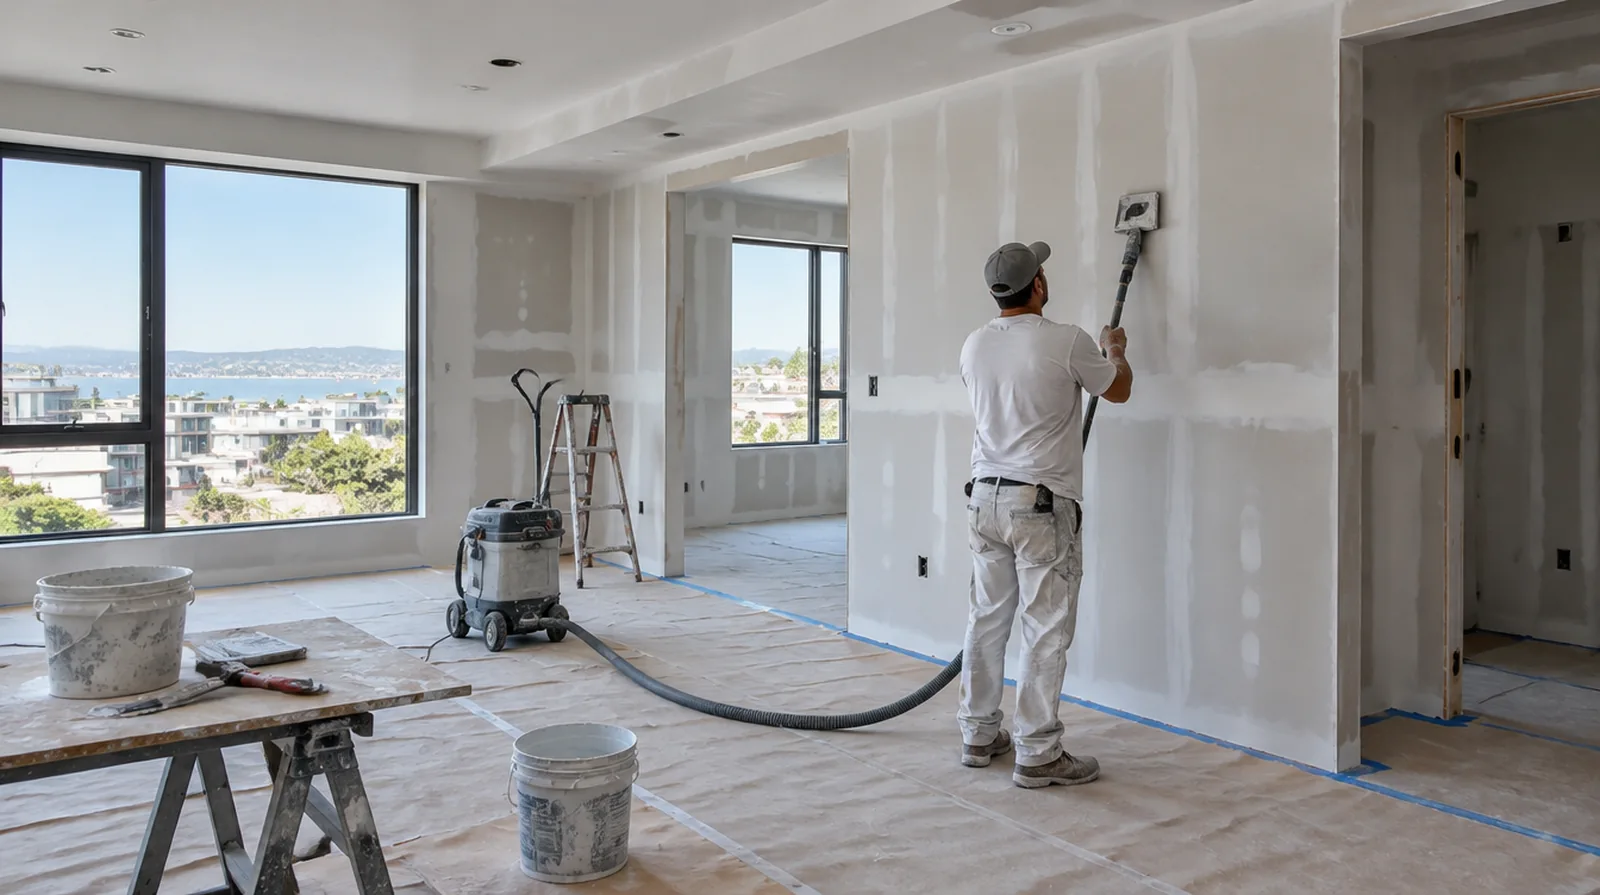
Agree on the visual standard
The expected paint sheen, room lighting and viewing distance influence how much finishing a wall needs. A written finish level gives the installer and painter a clearer shared target. Where the quoted work stops before painting, request a well defined description of what remains so the next decorating stage can be priced realistically.
Keep external corners straight
Corner bead provides a consistent line but needs secure installation and sufficient compound coverage. Dents or twists should be corrected before the finish locks them into the wall surface. If the proposal requires return visits, identify the purpose of each stage and the intervals during which finishing material needs to remain undisturbed.
Project context in San Mateo
Check HOA hours, elevator bookings and where a work vehicle can park in the garage. Ask whether sound insulation is part of the work.
Scope questions before finishing
While a removed panel exposes the wall cavity, complete the necessary review of concealed work before replacement board closes the opening.
If an independent painter completes decoration, agree the condition of the handed over surface and assign responsibility for small final corrections.
At an edge beside built in furniture, state whether the obstruction will be removed or whether finishing stops at the section that can be reached.
For a planned new wall mounted fixture, resolve its backing requirements while the cavity remains open instead of cutting into completed drywall later.
Where a finished perimeter is prominent, decide whether trim stays in position or is removed before agreeing how the new surface meets that edge.
For a tightly furnished room, plan temporary storage and the minimum working clearance before material is carried into the property.
When the wall has strong reflected light, look at the full plane rather than judging only the narrow strip immediately beside the patch.
For walls beside bright windows, review a dry sample from an oblique angle as well as looking straight at the repaired surface.
At the handover inspection, review the finish from ordinary room positions using the lighting conditions that were agreed for the work.
Where flooring is staying in place, agree on protective coverings and check that tools and material handling will not damage the noticeable finish.
For an initial assessment from pictures, provide an overall room photograph and a detailed view of the defect so both context and scale are apparent.
At a ceiling or wall containing fittings, assign removal and reinstatement duties for the affected devices before repair access is needed.
Explore the San Mateo drywall overview for related options, or read the project planning information before arranging the next stage.
More planning details for San Mateo
San Mateo condos and townhouses often share walls with neighbors, so noise and dust rules matter as much as the repair itself. Mild coastal weather is good for drying, but foggy mornings can keep rooms cool. A dining room wall shared with a neighbor may also be a fire-rated assembly, so the right board type must be used.