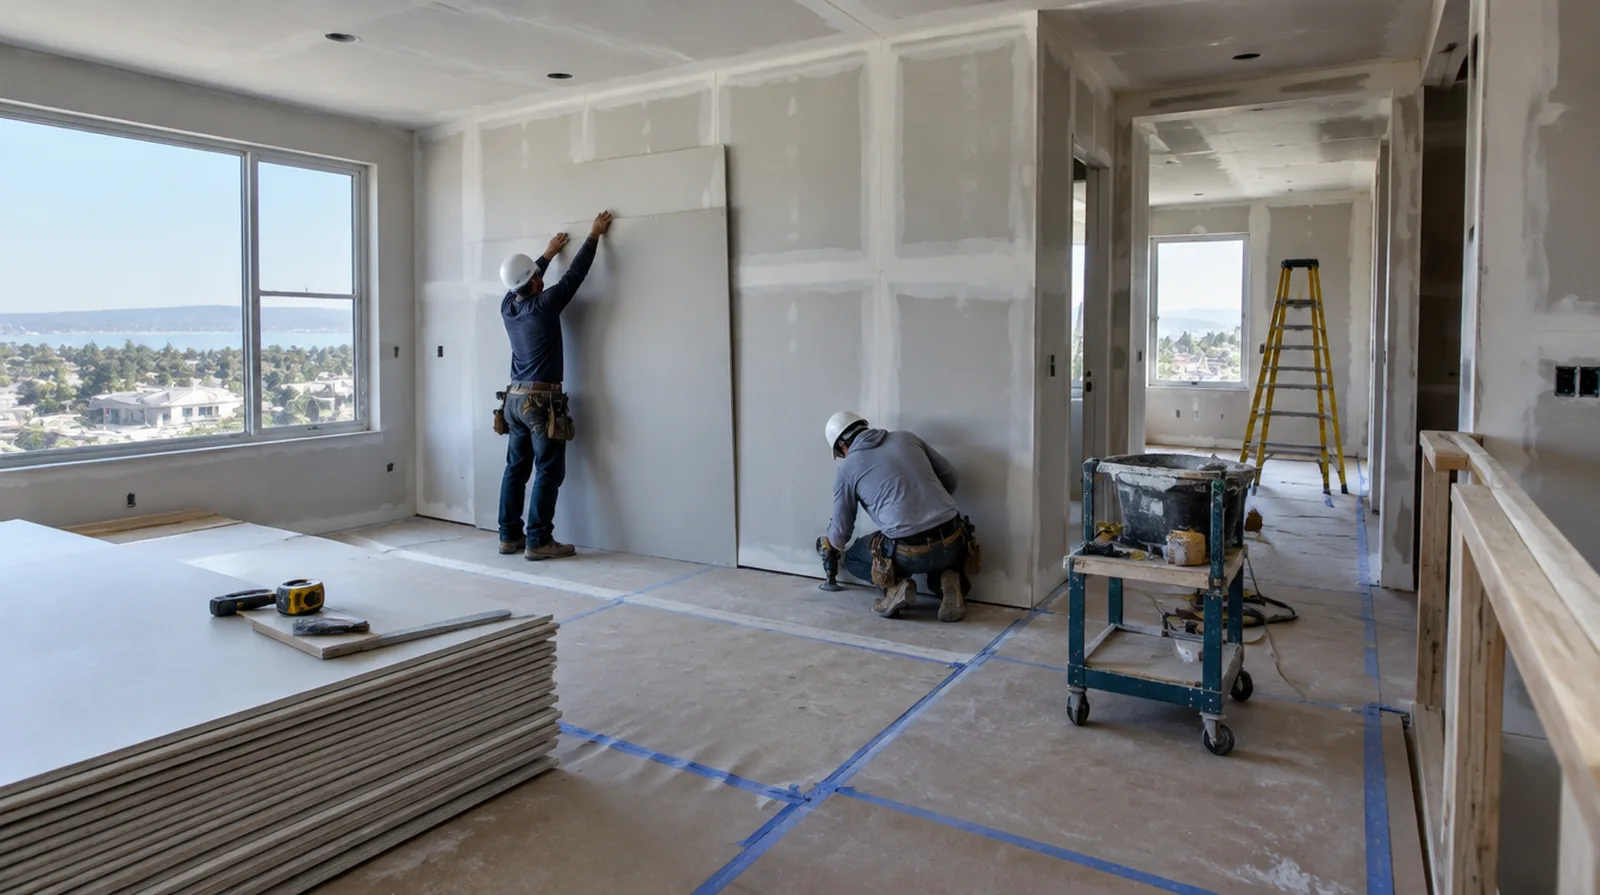
Sequence the finishing work
Joint treatment needs suitable indoor conditions and time between coats instead of a rushed pass over damp material. Coordinate room ventilation and entry while the other parts of the renovation continue. If the completion date matters most, allow for intervals between coats as well as active labor rather than assuming the entire process happens continuously.
Define the finish level
Hanging board and delivering a ready for painting wall are different stages that should be described separately. Strong side lighting or a glossy coating can justify more extensive finishing than a utility room. For a room that stays in use, set a workable boundary around construction while retaining the access people need for normal daily activities.
Measure the complete assembly
Board quantities depend on wall height, ceiling coverage, openings and the proposed orientation of the sheets. A measured layout helps reduce narrow infill strips and unneeded joints around doors. If materials must cross common building areas, plan the protection and access route so other occupants are not needlessly obstructed by deliveries.
Fit corners and openings
The finished corner line depends on precise fitting before compound is applied. Select the exposed edge profile for the design and the level of contact it will receive. When the wall has strong reflected light, look at the full plane rather than judging only the narrow strip immediately beside the patch.
Select appropriate panels
Panel thickness and type depend on the intended wall or ceiling assembly and the conditions in the interior. Moisture resistant board is not a substitute for a required waterproofing system in a wet area. When photographs are used for an initial discussion, include a wide room view as well as a close view so scale and surrounding finishes are understandable.
Confirm concealed work
Required checks on concealed services and insulation ought to be completed while the wall surface remains open. A readiness record and useful photographs can reduce avoidable demolition through the new installation. Where flooring is staying in place, agree on protective coverings and check that tools and material handling will not damage the noticeable finish.
Plan deliveries and access
The route into the property places limits on sheet handling that the wall dimensions do not show. Difficult access can change labor and waste even when the interior itself is relatively small. When the history of a repair is uncertain, note when it became visible and whether its appearance has altered across differing seasons.
Inspect before decoration
The most useful final review happens after the surface is dry and before cabinets or wall coverings hide the edges. Use the agreed lighting and note any further preparation the painter should expect. For a surface that will receive wall covering, share the product requirements early so the finishing stage supports the planned decorative treatment.
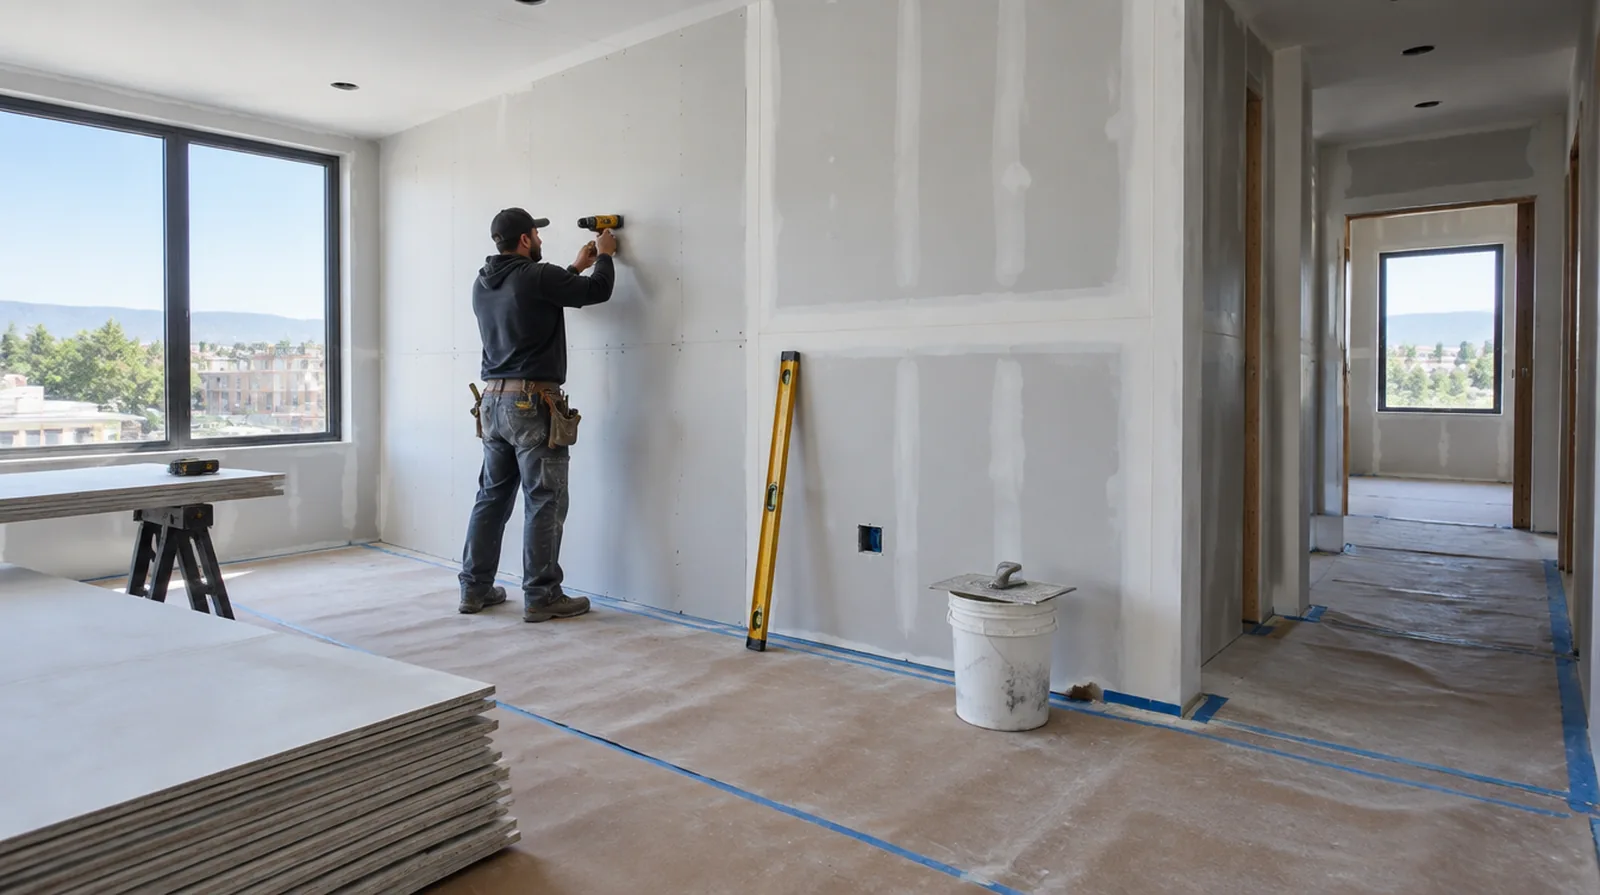
Lay out the joints
Arrange supported sheet edges and joint positions with the openings and final finish in mind. The installer should consider both panel support and the finishing work that follows. At a surface receiving strong window light, review a dried trial from the side in addition to the normal straight view of the wall.
Control fastening depth
Proper fastening holds the gypsum securely while leaving its face paper intact. Repair overdriven fixings or inadequate edge support instead of expecting compound coats to conceal those defects. Where a future fixture will be installed, coordinate any required backing while the cavity is accessible rather than reopening the completed wall.
Project context in San Mateo
Plan the paint so the repaired wall blends with the rest of the room. Protect common hallways from dust and debris.
Scope questions before finishing
For a room that stays in use, set a workable boundary around construction while retaining the access people need for normal daily activities.
For a planned new wall mounted fixture, resolve its backing requirements while the cavity remains open instead of cutting into completed drywall later.
If the final paint is already chosen, share its sheen and color early because those choices influence how substrate preparation is judged.
If occupancy must resume on a certain day, include the later primer and paint stages in the timetable as well as drywall installation and finishing.
Where a neat final edge matters, agree whether the finish ends against existing trim or whether that trim will be removed and replaced.
When photographs are used for an initial discussion, include a wide room view as well as a close view so scale and surrounding finishes are understandable.
If the original finish is unusual, keep a small reference sample or a close photograph to support the discussion about blending and restoration.
When the work area includes a doorway, check the clearance for panel movement as well as the amount of space available for finishing tools.
For a wall receiving a decorative covering, provide its preparation requirements early sufficient for the drywall finish to support that product.
If the project is part of a larger remodel, settle the sequence with flooring, trim and cabinet work before setting a final finishing date.
At an edge beside built in furniture, state whether the obstruction will be removed or whether finishing stops at the section that can be reached.
For work spread across differing planes, record their dimensions separately and describe the boundary of the treatment on each surface.
Explore the San Mateo drywall overview for related options, or read the project planning information before arranging the next stage.
More planning details for San Mateo
San Mateo condos and townhouses often share walls with neighbors, so noise and dust rules matter as much as the repair itself. Check HOA hours, elevator bookings and where a work vehicle can park in the garage. Mild coastal weather is good for drying, but foggy mornings can keep rooms cool.