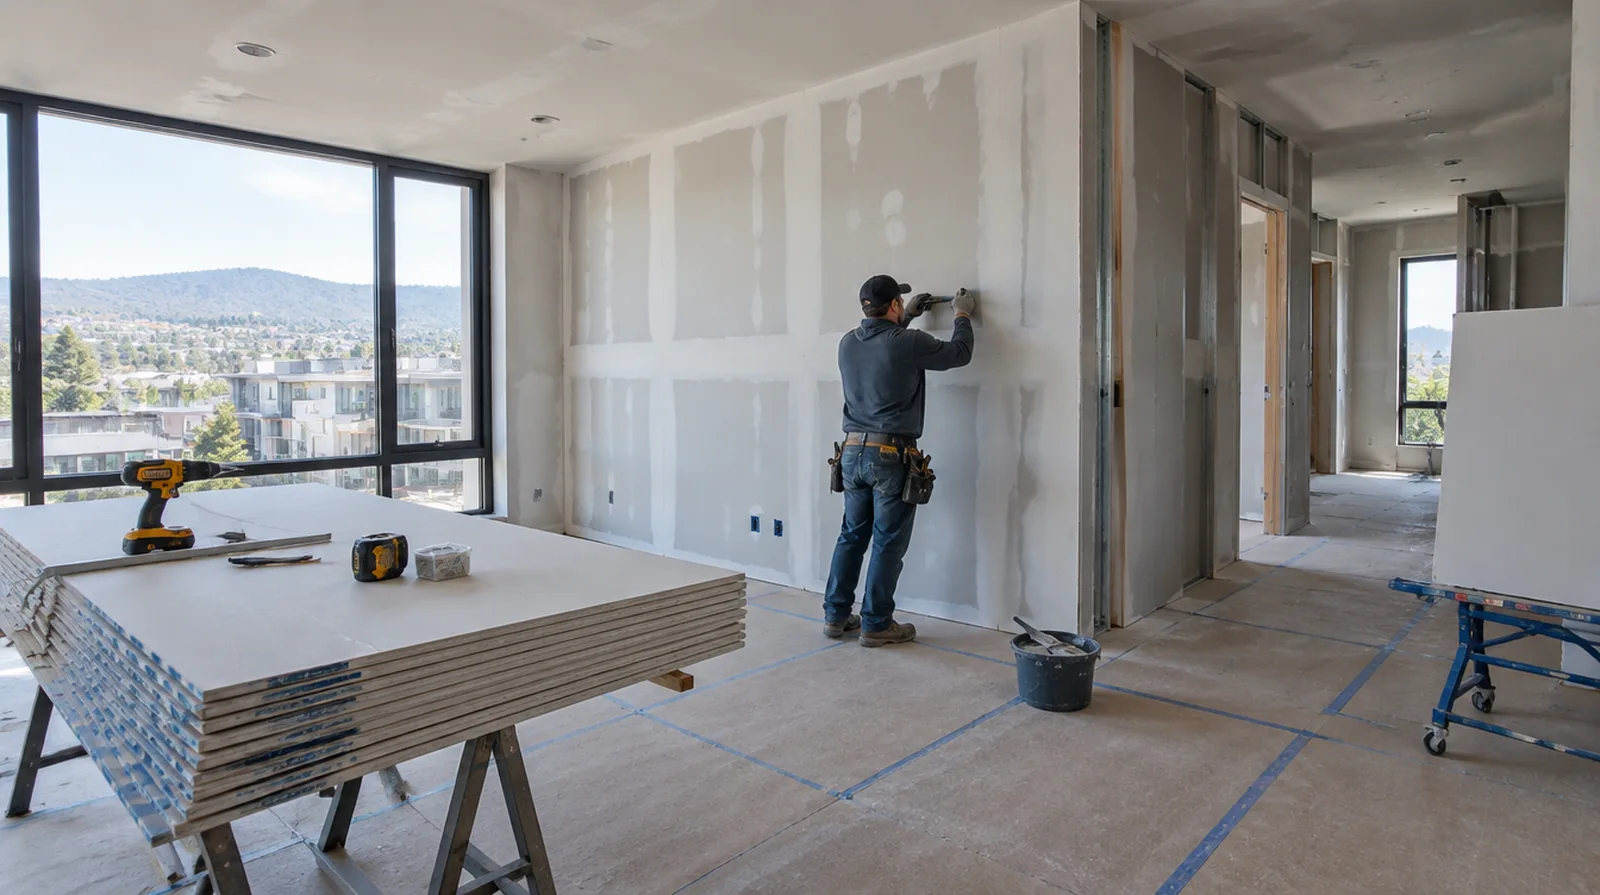
Identify the noise path
Voices passing through a shared wall are differing from footsteps transmitted through a floor structure. A useful assessment starts with the type of sound and the path it follows. When panel replacement exposes a cavity, resolve any required inspection before that opening is closed and the finishing work begins.
Finish the visible surface
The room side of an acoustic installation still needs appropriate taping, finishing and coating preparation. Complete that work without disturbing the details on which the sound control system depends. If the wall surface work belongs to a broader renovation, coordinate its order with flooring, cabinetry and trim rather than scheduling finishing in isolation.
Set realistic goals
Adding board alone does not guarantee a quiet room when sound travels through doors or adjoining cavities. Explain improvement goals at assembly level instead of promising that one product will make the room silent. For an older repair with no clear history, describe when the mark first appeared and whether it has changed through more than one season.
Consider cavity access
A wall already open for remodeling provides options that an intact occupied room may not. The estimate should explain what needs removal and how the space will be restored afterward. Where flooring is staying in place, agree on protective coverings and check that tools and material handling will not damage the noticeable finish.
Review the whole assembly
Acoustic performance depends on framing, insulation, panel layers and perimeter details working together. Select a suitable tested or documented wall system rather than combining unrelated marketing specifications. For an older repair with no clear history, describe when the mark first appeared and whether it has changed through more than one season.
Coordinate electrical boxes
Opposing outlets and unsealed openings may create weak points in a separating wall. Coordinate any changes with the electrical trade and preserve the requirements of the complete assembly. At a ceiling or wall containing fittings, assign removal and reinstatement duties for the affected devices before repair access is needed.
Evaluate added thickness
Adding layers changes the relationship between the wall face, fittings and adjoining trim. Include those interfaces in the scope so acoustic work does not leave unfinished perimeter details. For a surface carrying numerous paint layers, discuss whether differences in the retained profile or sheen justify decorating a broader area.
Address air leakage
Small gaps around edges and service penetrations can undermine an otherwise substantial wall. Include compatible sealing wherever it is required by the chosen sound control assembly. If the existing finish is unusual, keep a small reference sample or a close photograph to support the discussion about blending and restoration.
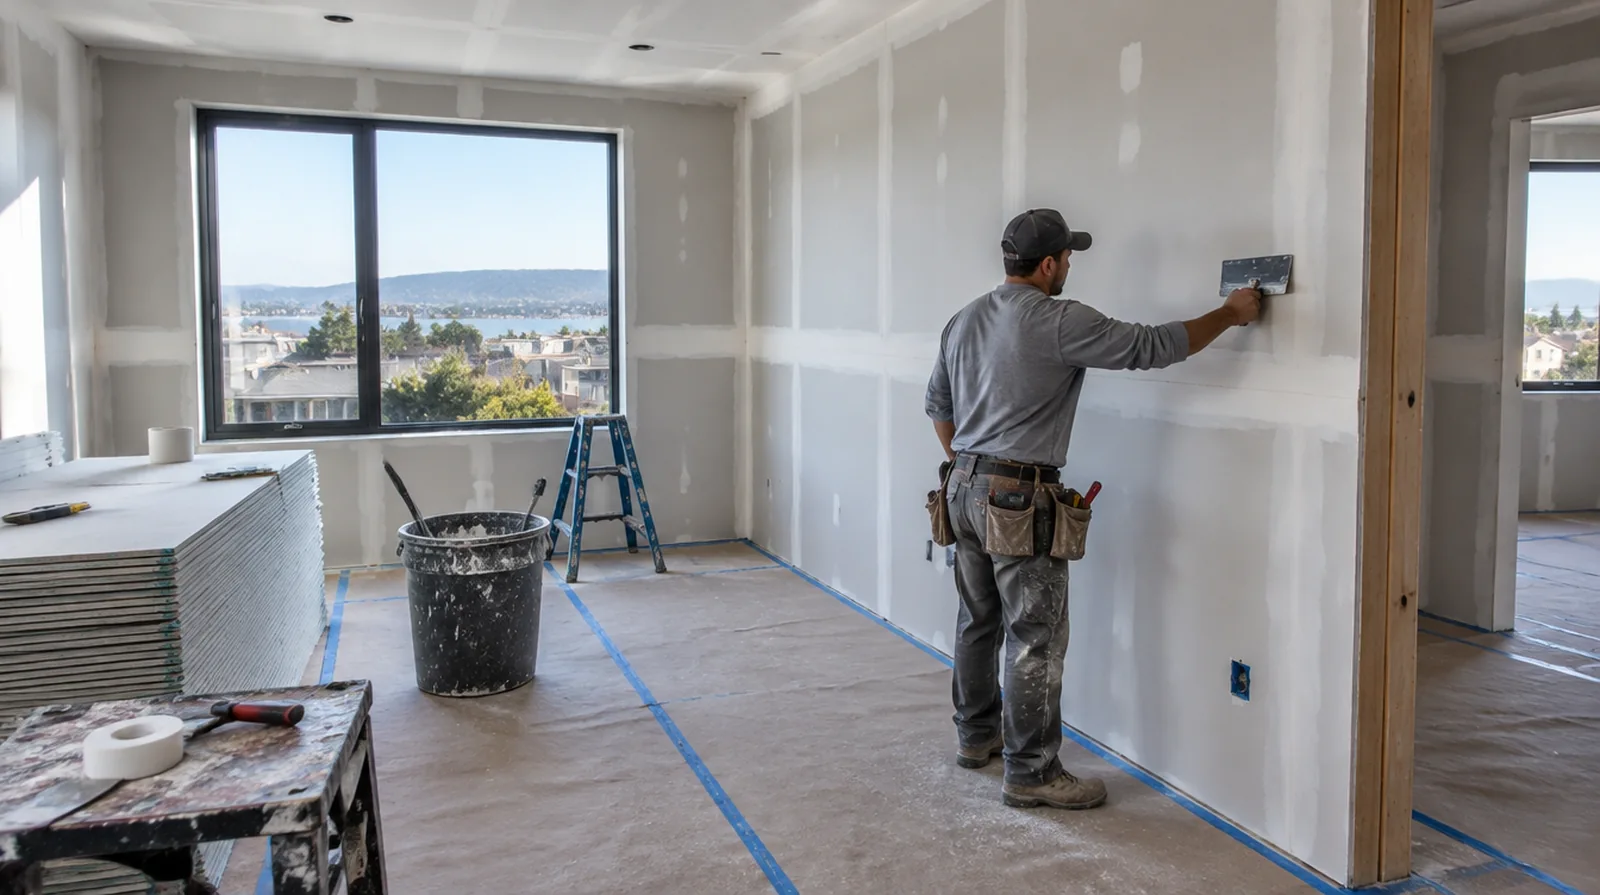
Include flanking paths
Noise can bypass a treated partition through connected walls, ceilings and floors. Review those flanking routes when explaining why a single wall treatment may provide only part of the solution. If a distinct painter completes decoration, agree the condition of the handed over surface and assign responsibility for small final corrections.
Respect fire requirements
Sound control modifications must not undermine required fire separation. Verify suitable board, sealing and connection details before changing the existing assembly. When the decorative coating has been selected, tell the finisher its intended sheen and color while the substrate preparation standard is still being agreed.
Project context in San Mateo
Check HOA hours, elevator bookings and where a work vehicle can park in the garage. Protect common hallways from dust and debris.
Scope questions before finishing
If a household member is sensitive to dust, discuss containment and cleaning expectations before choosing how to stage the interior work.
If the coating stability is unclear, assess which layers are adequately bonded and which should be removed rather than simply hidden beneath new material.
When the same defect has returned, share information about previous repair methods so the next assessment can consider why they did not last.
Where light reflects along the wall, inspect the complete plane instead of limiting the review to the edge immediately next to the repaired section.
Where a neat final edge matters, agree whether the finish ends against existing trim or whether that trim will be removed and replaced.
Where existing floors will remain, specify protective measures and review the path used by panels, equipment and finishing tools.
If the final paint is already chosen, share its sheen and color early because those choices influence how surface preparation is judged.
Where flooring is staying in place, agree on protective coverings and check that tools and material handling will not damage the noticeable finish.
When building management controls access, agree delivery hours and common area protection before committing to a start or finish date.
If the current finish is unusual, keep a small reference sample or a close photograph to support the discussion about blending and restoration.
When panel replacement exposes a cavity, resolve any required inspection before that opening is closed and the finishing work begins.
At a surface receiving strong window light, review a dried trial from the side in addition to the normal straight view of the wall.
Explore the San Mateo drywall overview for related options, or read the project planning information before arranging the next stage.
More planning details for San Mateo
San Mateo condos and townhouses often share walls with neighbors, so noise and dust rules matter as much as the repair itself. Mild coastal weather is good for drying, but foggy mornings can keep rooms cool. A dining room wall shared with a neighbor may also be a fire-rated assembly, so the right board type must be used.