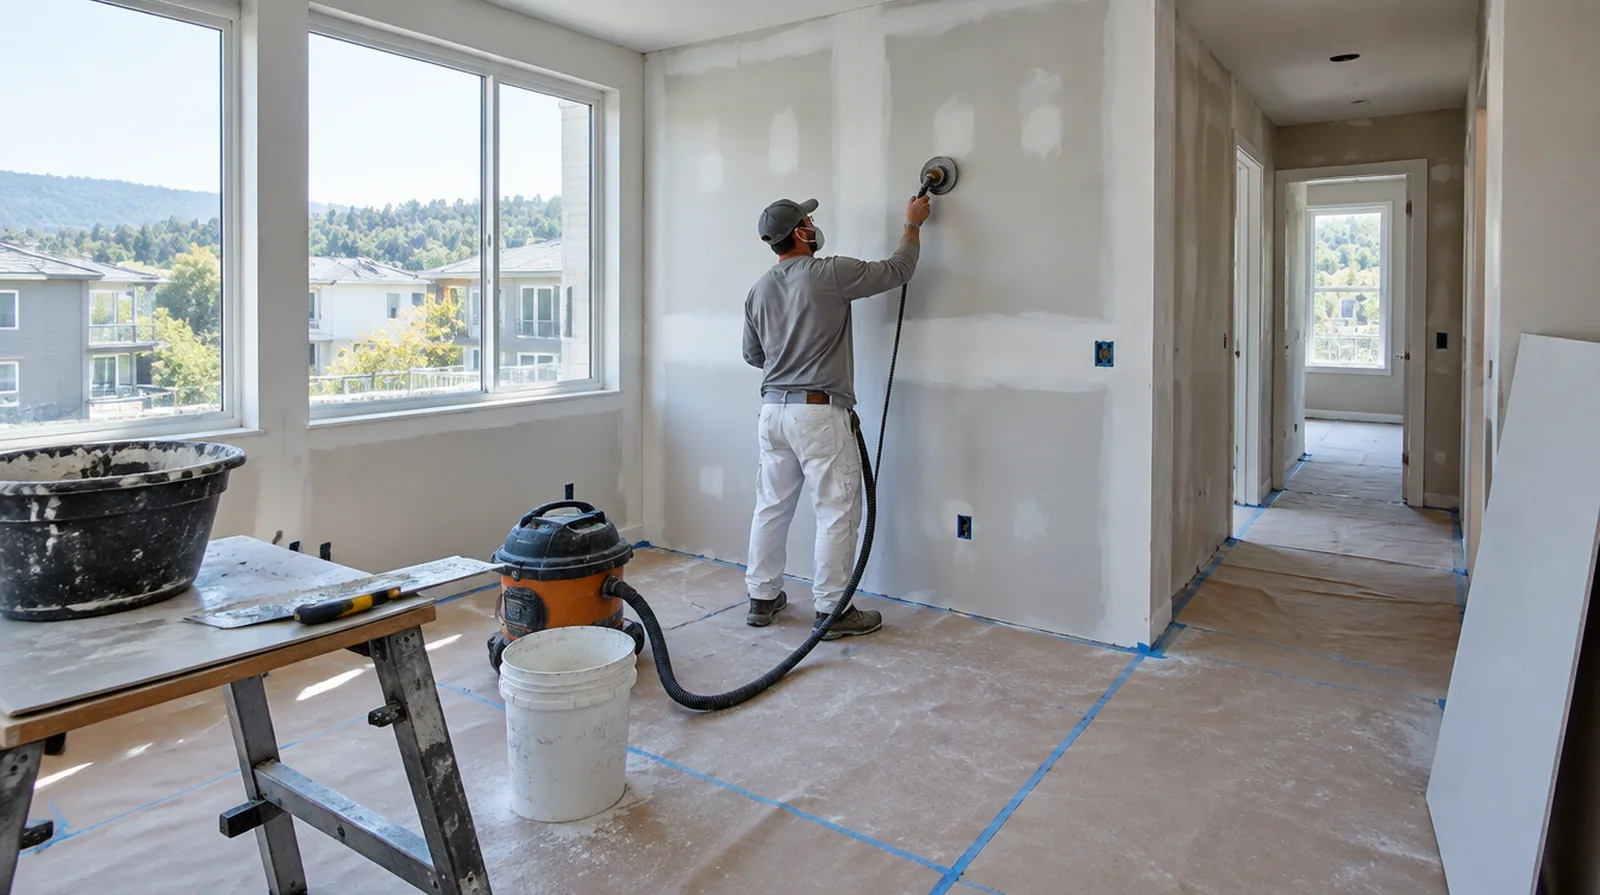
Feather beyond the opening
The visible finishing area generally extends farther than the hole because a gradual taper hides the repair edge. The gradual transition is particularly important where a window lights the surface from the side. If there is a fixed move in date, reserve enough time for the coating stages after drywall work rather than counting only the installation period.
Review with side lighting
Use an angled view as well as a direct view when reviewing a finished patch. Checking from more than one angle helps separate surface imperfections from differences in coating sheen. When reviewing the finished work, use the agreed lighting and natural room viewpoints so the assessment reflects the intended use of the space.
Reinforce panel seams
Joint tape bridges the transition between the original wall and a replacement section. Embed the chosen tape fully in its intended compound so the edges bond without bubbles. When the wall surface has strong reflected light, look at the full plane rather than judging only the narrow strip immediately beside the patch.
Set the paint boundary
Even a well blended patch can remain noticeable when touched up with an aged or unavailable paint color. Repainting the full wall from corner to corner may give a more consistent appearance. Where several contractors share the renovation, identify the inspection and handover milestones that determine when each following stage can proceed.
Document recurring movement
A crack that repeatedly reappears could need the cause investigated before more cosmetic work. A drywall estimate should state when another trade needs to investigate before surface work proceeds. For a surface that will receive wall covering, share the product requirements early so the finishing stage supports the planned decorative treatment.
Prepare for primer
The absorbency of fresh drywall finishing material differs from that of the painted surface beside it. Confirm whether the quote includes priming or ends with a sanded surface ready for the painter. When the wall has strong reflected light, look at the full plane instead of judging only the narrow strip immediately beside the patch.
Protect adjacent surfaces
Small wall repairs can still distribute fine dust through the room if protection is inadequate. Identify the possessions to move and agree which adjacent spaces need to stay usable. Where existing floors will remain, specify protective measures and review the path used by panels, equipment and finishing tools.
Support the replacement
Larger openings need a fitted board patch secured to framing or suitable backing rather than a thick mound of compound. The replacement thickness of the board should match the current face so the joint can finish level. When the same defect has returned, share information about previous repair methods so the next assessment can consider why they did not last.
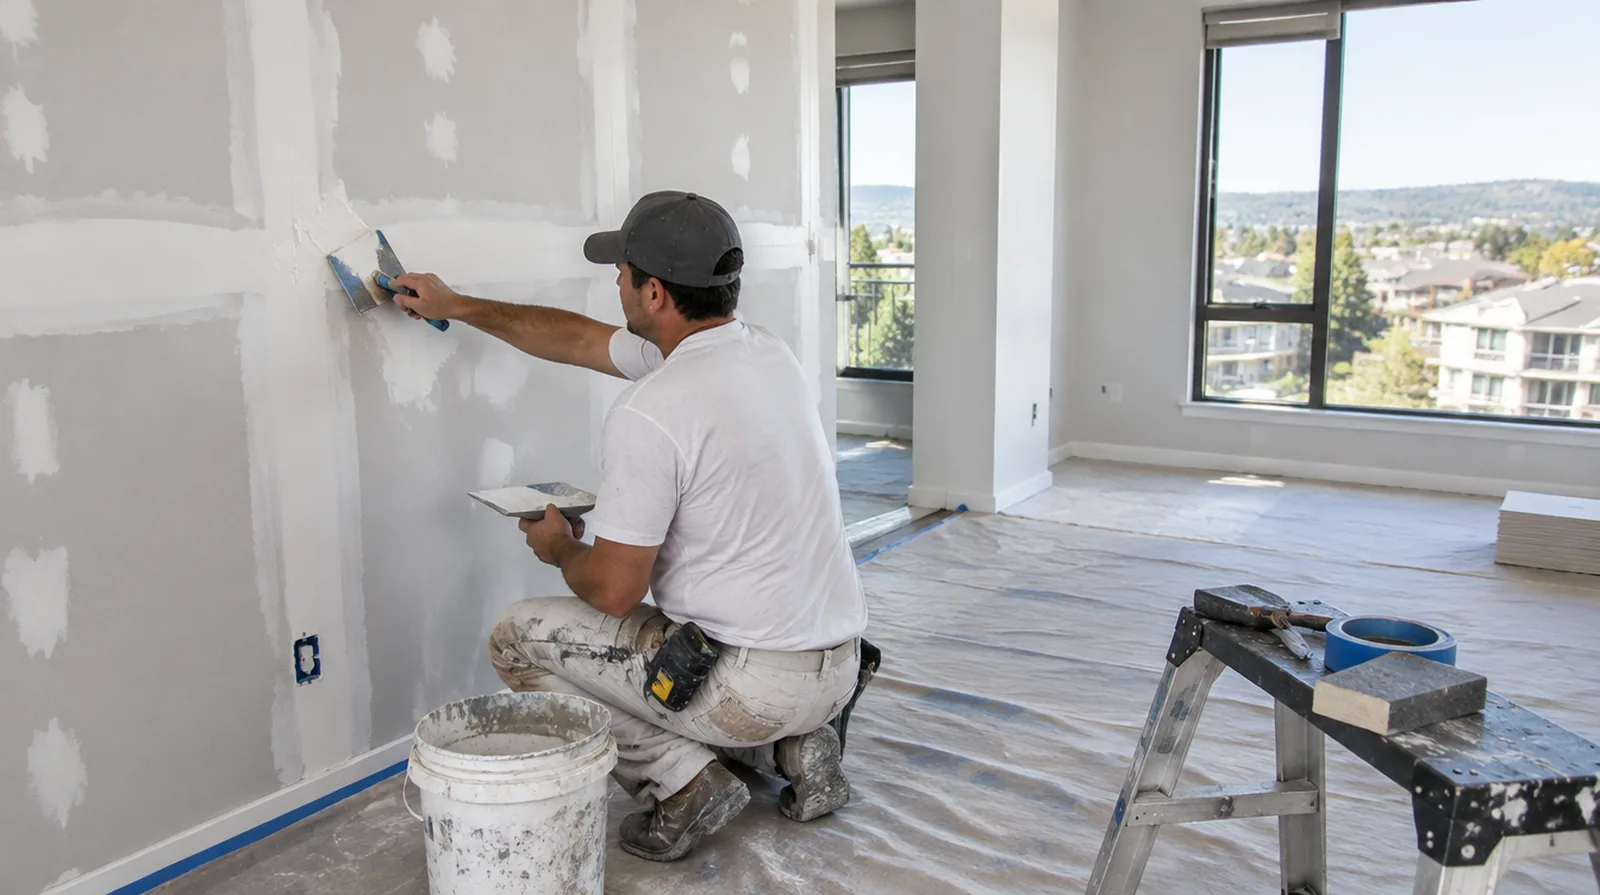
Build thin finishing coats
Several controlled applications are generally easier to flatten than one deep deposit of drywall joint compound. Judge the previous layer only after it has dried enough for the next operation. If the finish paint is already chosen, share its sheen and color early because those choices influence how surface preparation is judged.
Handle small fastener marks
A visible screw or nail bump can indicate movement between the board and its supporting framing. Adding appropriate fastening nearby may be necessary before the damaged spot receives finishing compound. When photographs are used for an initial discussion, include a wide room view as well as a close view so scale and surrounding finishes are understandable.
Project context in San Mateo
Check HOA hours, elevator bookings and where a work vehicle can park in the garage. Protect common hallways from dust and debris.
Scope questions before finishing
At a repair beside an opening, allow clearance for moving board through the doorway and space to use the finishing tools effectively.
Where light reflects along the wall, inspect the complete plane instead of limiting the review to the edge immediately next to the repaired section.
If there is a fixed move in date, reserve adequate time for the coating stages after drywall work instead of counting only the installation period.
If occupancy must resume on a certain day, include the later primer and paint stages in the timetable as well as drywall installation and finishing.
At the handover inspection, review the finish from ordinary room positions using the lighting conditions that were agreed for the work.
When building management controls access, agree delivery hours and common area protection before committing to a start or finish date.
For walls beside bright windows, review a dry sample from an oblique angle as well as looking straight at the repaired surface.
When photographs are used for an initial discussion, include a wide room view as well as a close view so scale and surrounding finishes are understandable.
Where a future fixture will be installed, coordinate any required backing while the cavity is accessible rather than reopening the completed wall.
Where a neat final edge matters, agree whether the finish ends against existing trim or whether that trim will be removed and replaced.
For a distinctive existing pattern, retain a reference sample or detailed picture to make the matching discussion more specific.
For a surface that will receive wall covering, share the product requirements early so the finishing stage supports the planned decorative treatment.
Explore the San Mateo drywall overview for related options, or read the project planning information before arranging the next stage.
More planning details for San Mateo
San Mateo condos and townhouses often share walls with neighbors, so noise and dust rules matter as much as the repair itself. Mild coastal weather is good for drying, but foggy mornings can keep rooms cool. A dining room wall shared with a neighbor may also be a fire-rated assembly, so the right board type must be used.